Overview
HyperRail supports two primary account types:- Merchants — businesses that perform on-ramp, off-ramp, and fiat exchange transactions
- Exchange Client — institutions that supply fiat or stablecoin liquidity to power transactions on the platform
Onboarding as a Merchant
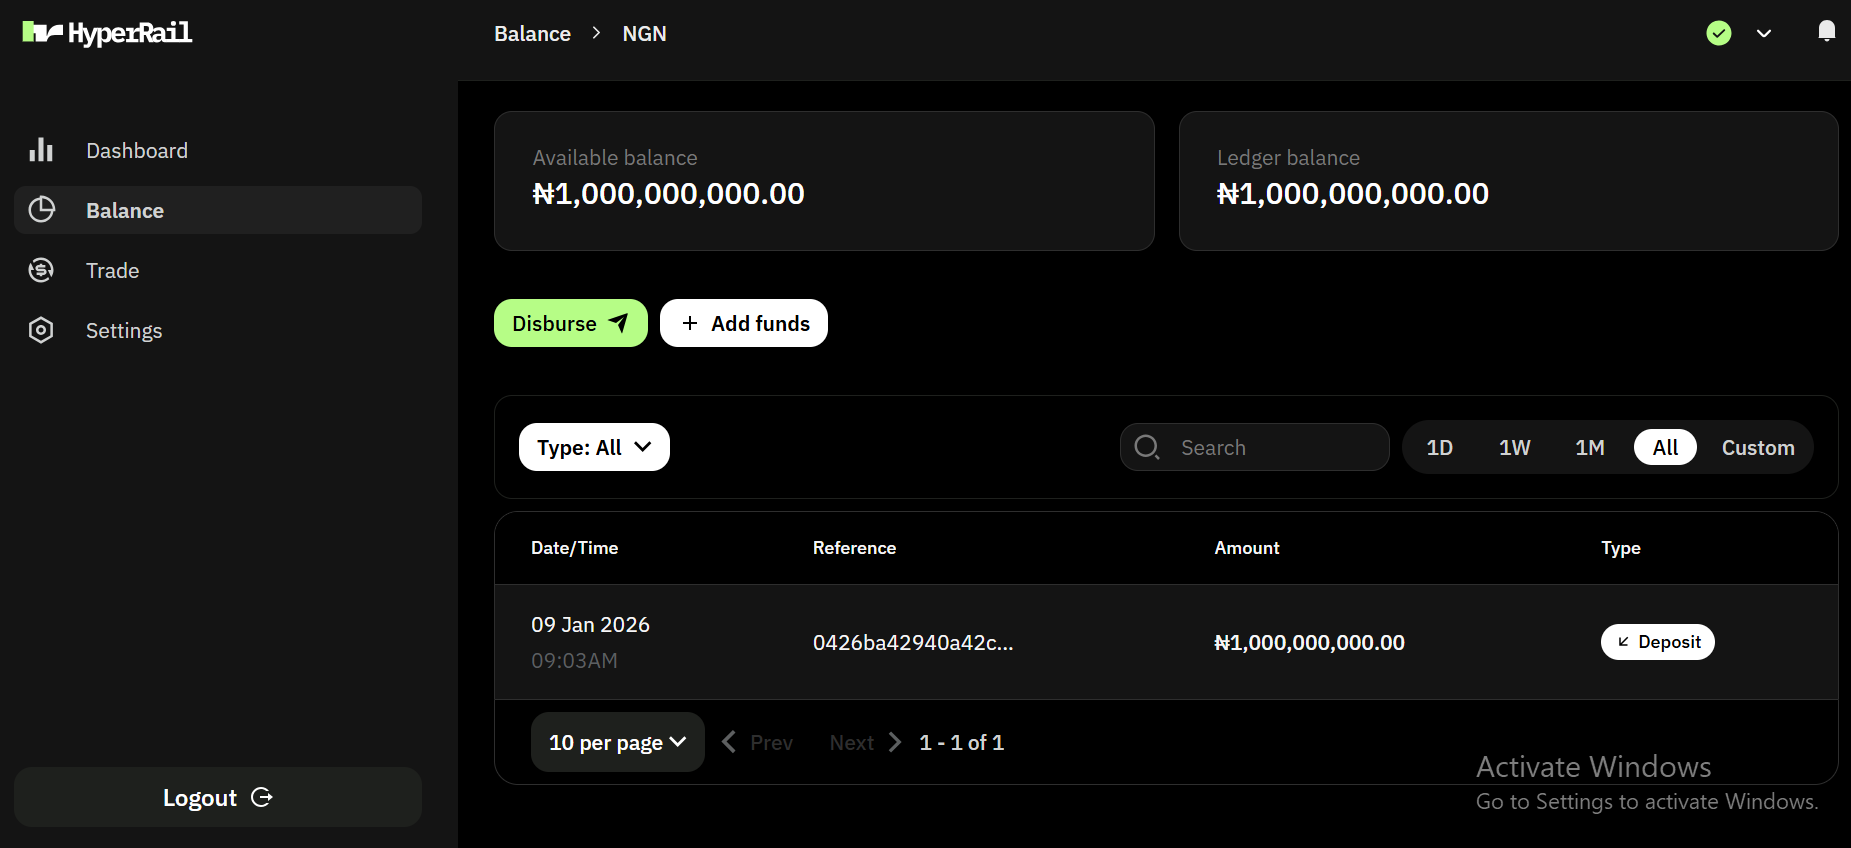
Merchants use HyperRail to convert currencies, manage treasury, and move funds across regions.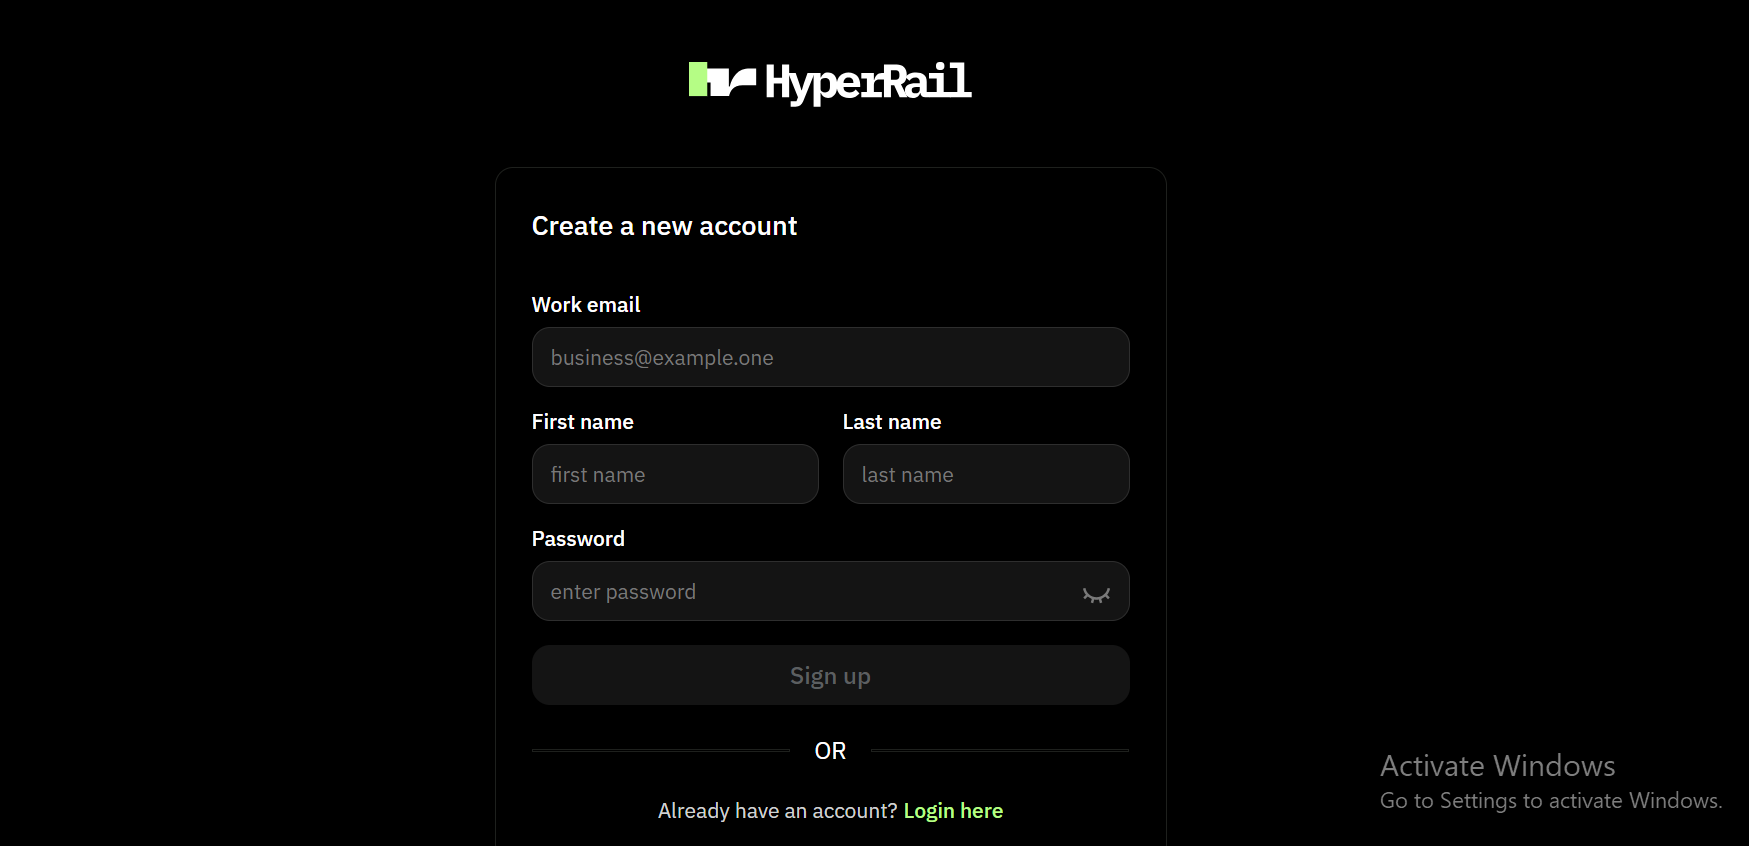
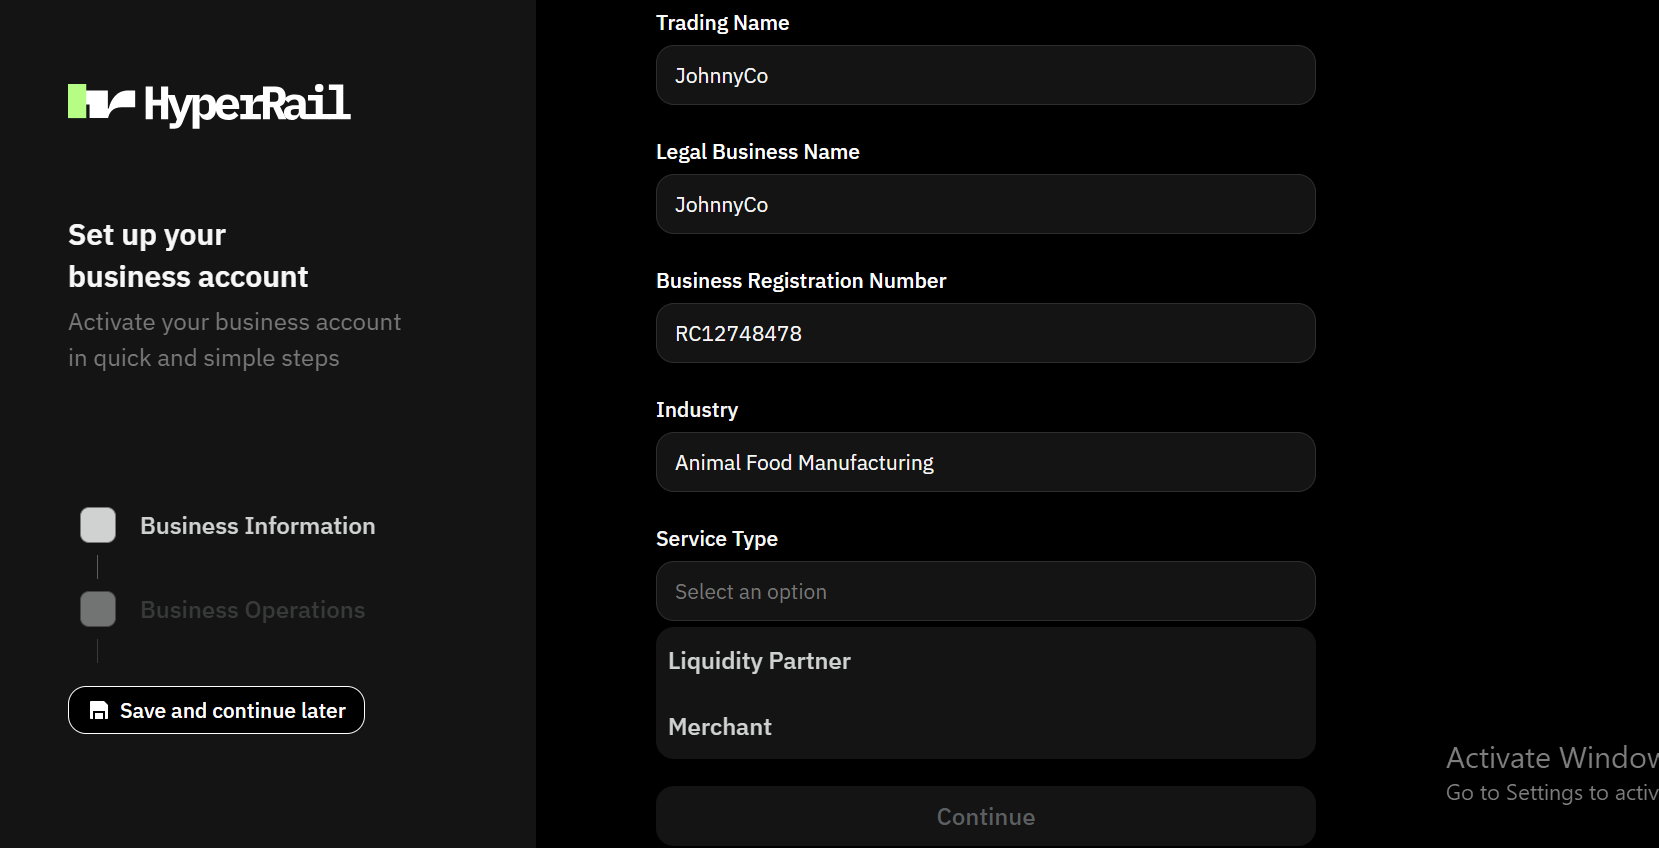
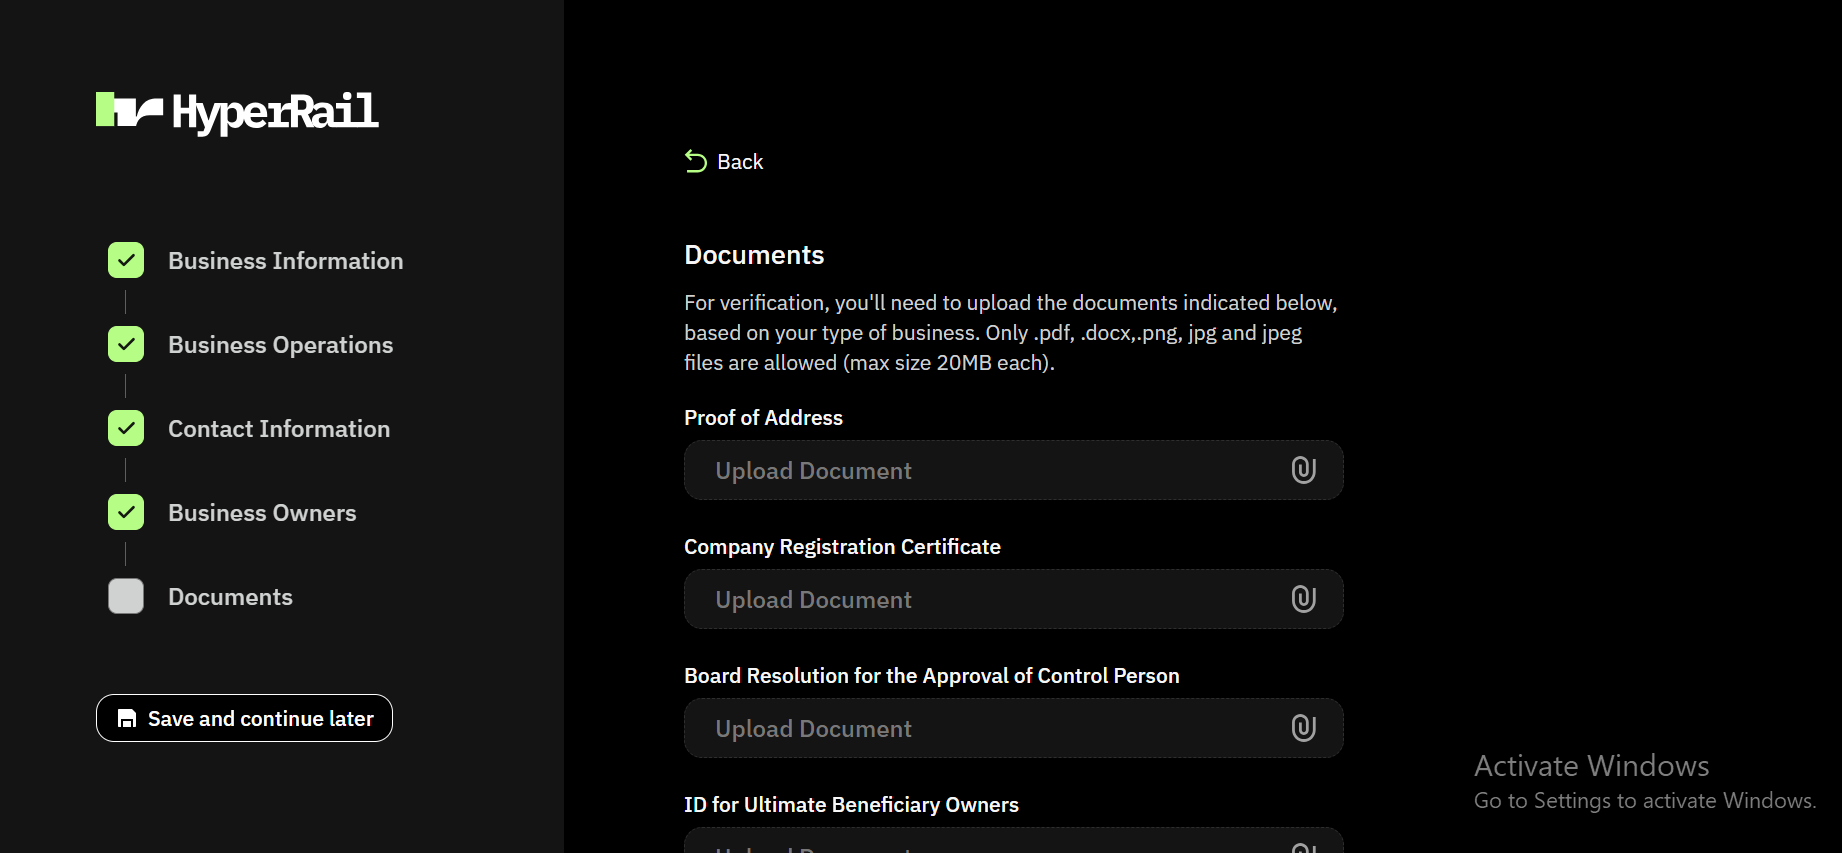
Complete business verification
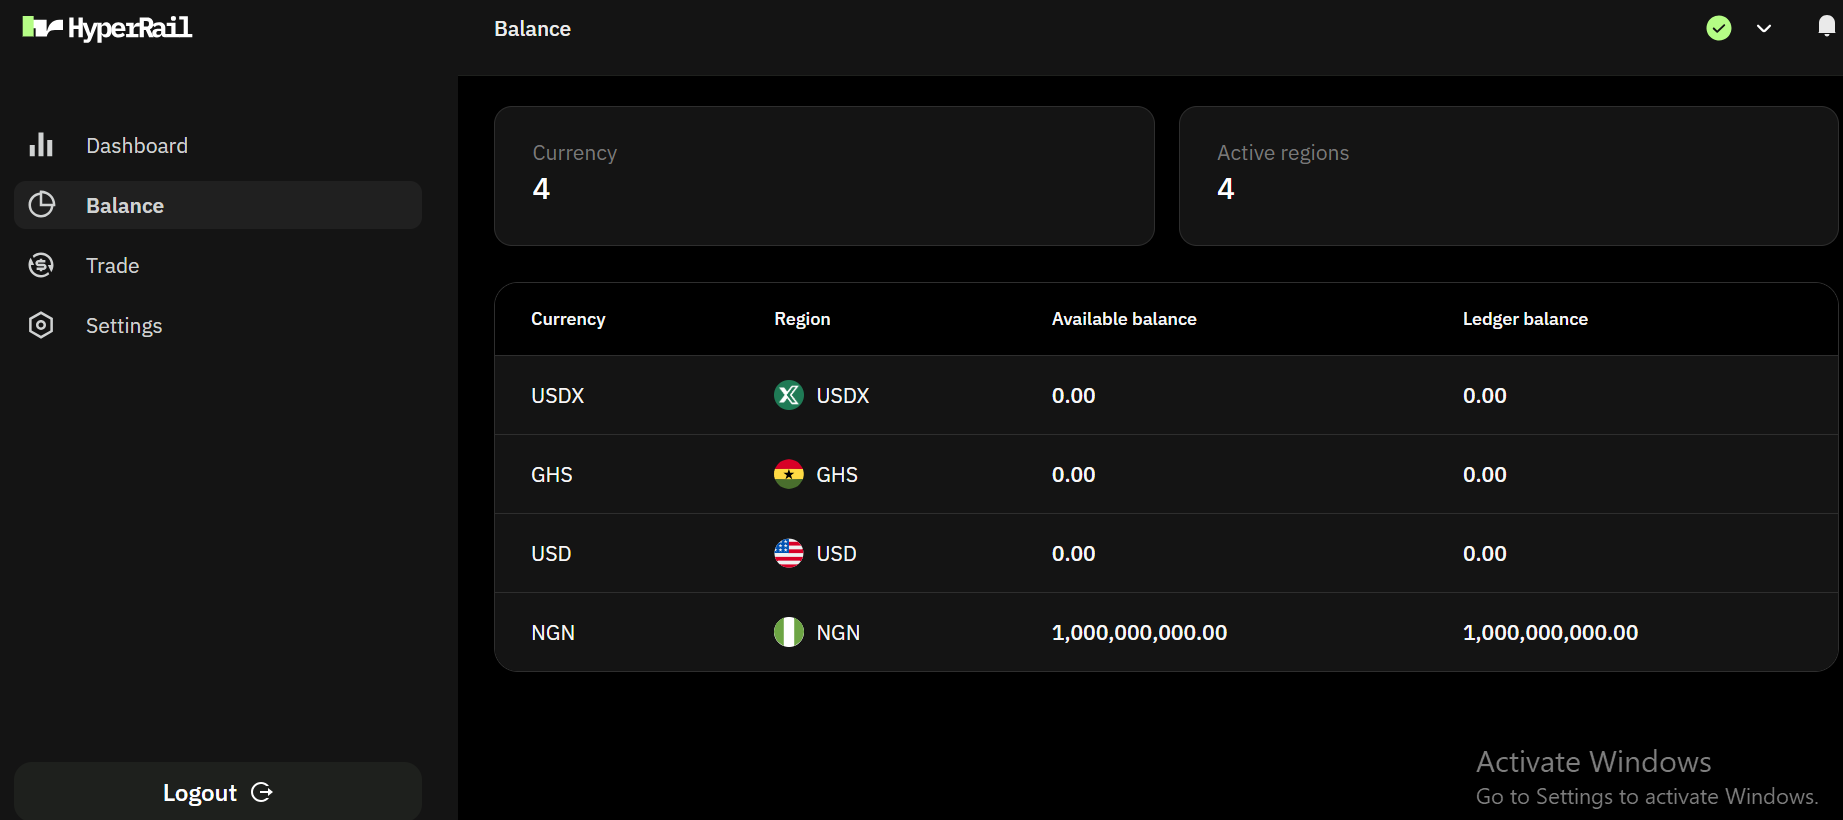
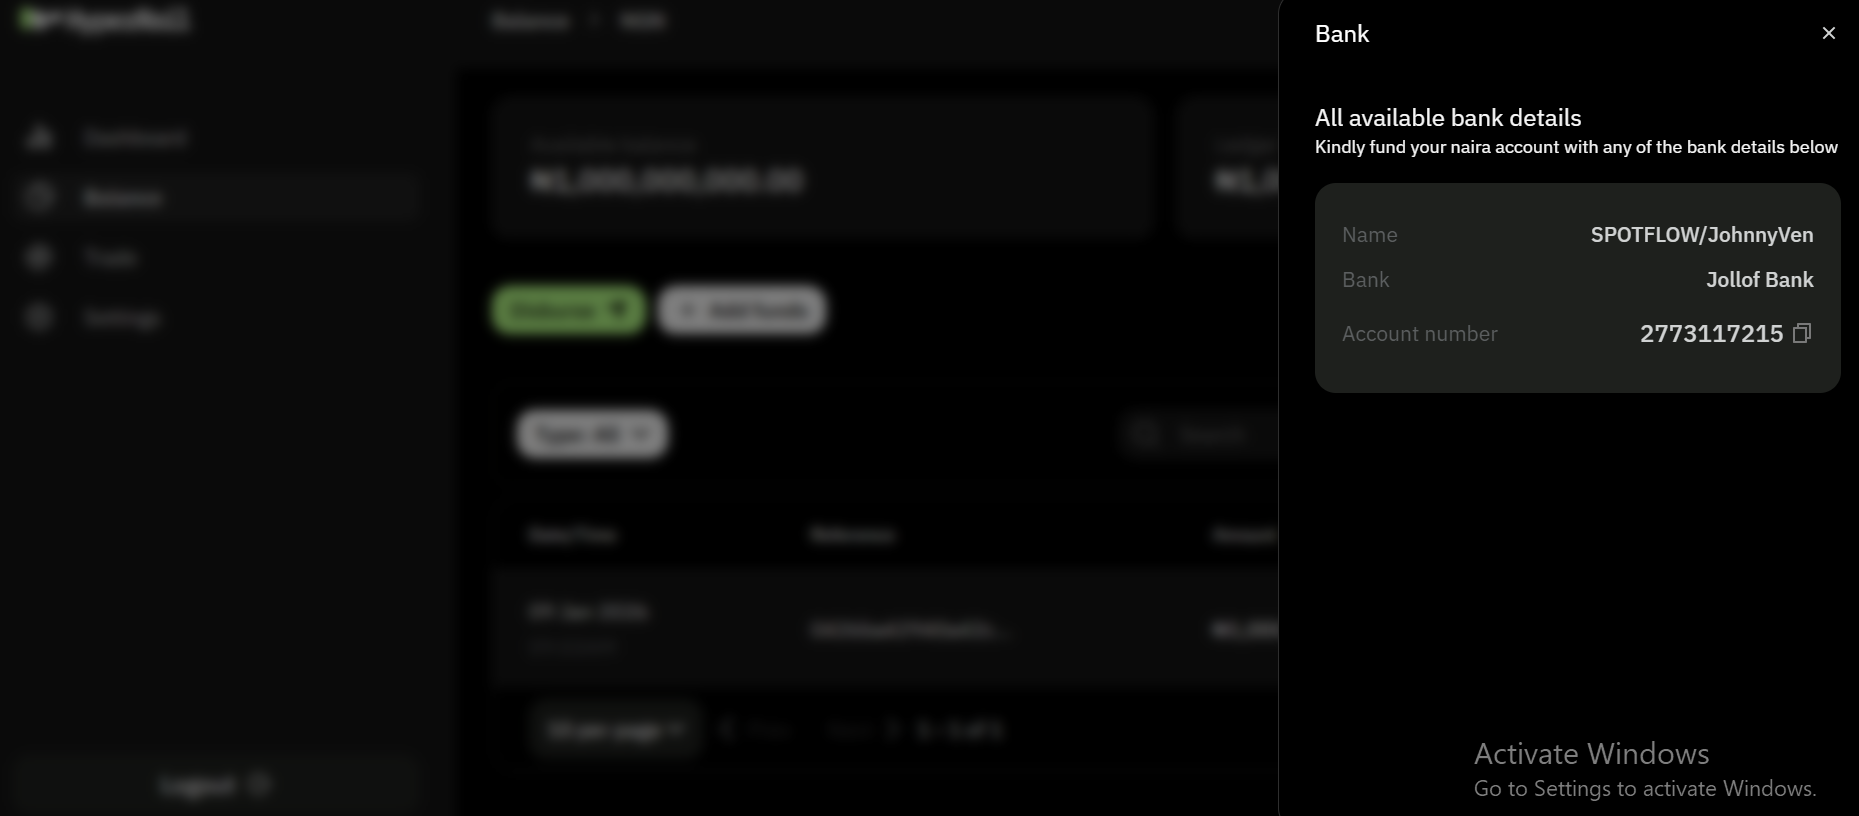
Fund your account
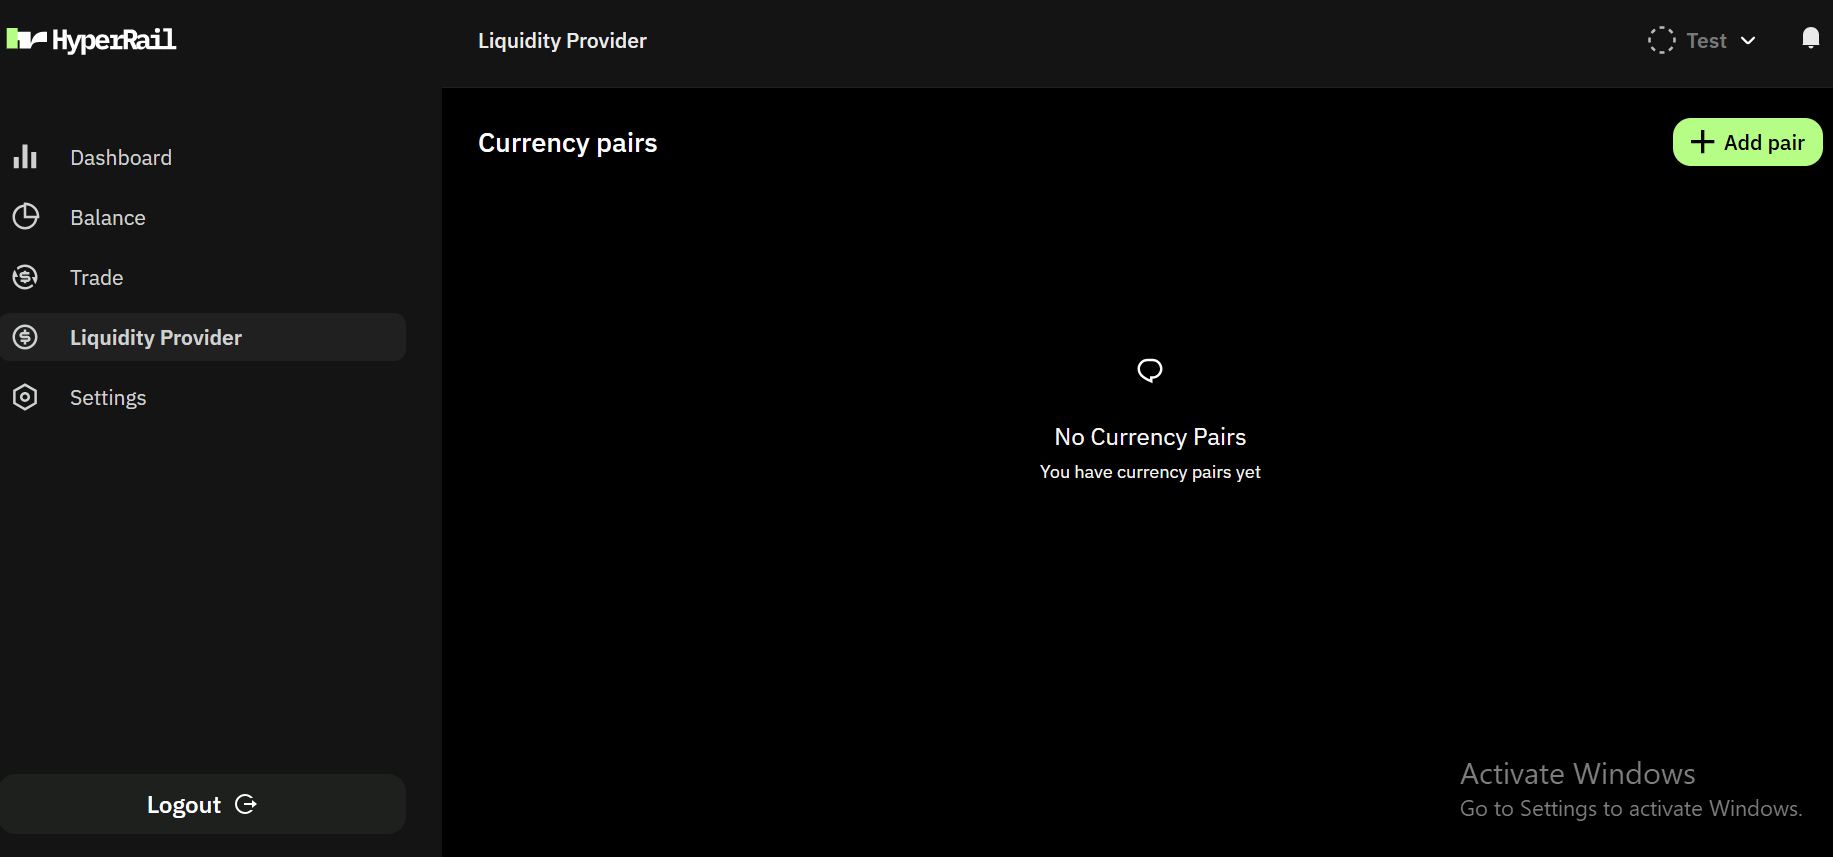
Onboarding as a Liquidity Provider
Exchange Client supply capital and pricing to support transactions on HyperRail.Complete business verification
Fund your account
Configure Supported Pairs

- Select source and destination currency.
- Choose a markup either manual, percentage and plus.
- Set your preferred rates threshold.
- Set your preferred liquidity amount threshold.
- We only support NGN, GHS and USD for fiat currencies.
- We only support USDT, USDC and MATIC for stablecoin currencies.
- We only support BASE, ETHEREUM and POLYGON for network.
Verification Timeline
- Typical approval time: 1–3 business days
- You’ll receive email updates if additional information is required.
Need Help?
If you need assistance during onboarding, contact:- Support: support@HyperRail.io